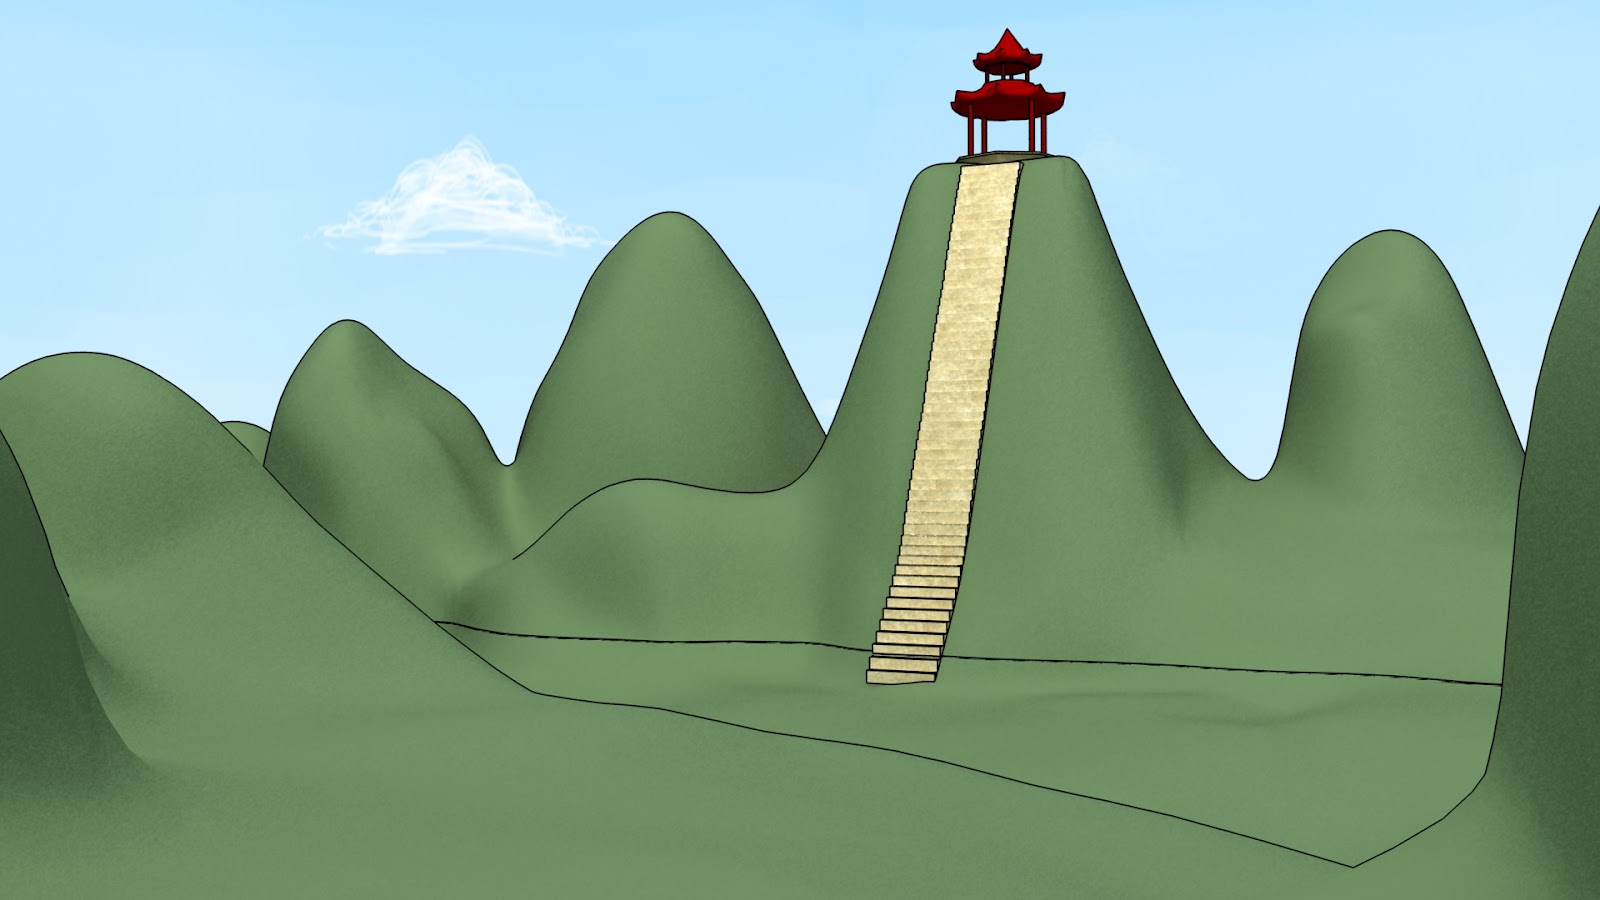
The camera pans across the river and both sides of the environment are shown. In the scene there was basic lighting set up so that the sky would be illuminated and also the environment. This is how the scene looks with basic lighting:

The environment in the foreground does look quite dark and the texture looks like there are lots of shadows. I did not anticipate that when the camera is facing the other side, the lighting is a lot darker.

Not only is it a lot darker but you can see the light cutting across the sky making an obvious shadow. I soon realised that I would have to re-light the whole scene. It also meant that any scenes we had rendered earlier had to be re-rendered for the lighting to match. It seems obvious to me now that we should have checked the scene's lighting before we had begun creating shots but at the time I just didn't think about it and presumed because it was fine on one side, it would be fine on the other side too.
The first thing I tried to do in order to fix the lighting was to create another light but have it pointing to wards the other side of the scene. To do this I just mirrored the existing light. I kept the light that was illuminating the sky because it had no effect on the mesh of the environment, it only shone of the sky.
The results of the mirroring were disastrous.

The lighting was better on this side now but the sky had completely whited out so you could not see it at all. I can still see the shadow of one of the lights in the top left corner, where only one reaches. I changed the settings of the lights so that the intensity was halved for each of them.

This looked better but there were still some dark areas, like on the stairs, which I knew we would need to be lit properly for scenes later on in the film. The lights still cast shadows which were visible in the sky but as long as the camera did not go any further round than in the image above, then they would not be visible.
I was not happy with this lighting still because a lot of the scenes would have to be cleverly positioned to cover some mistakes with the lighting and that was something I did not want to worry about.
Last year, I created a tutorial about HDRI lighting so picked up some tips and tricks about surface shaders and reflected and refracted light. I used these techniques to try a different method of lighting the scene.
I turned the globe with the sky texture that surrounded the environment into a surface shader and allowed reflections off of it. This would help bounce the light around the scene but keep the texture of the sky visible. I deleted some of the extra lights that were now not needed so that it would stop the scene from whiting out. The last thing to do was change the render settings in VRay and the indirect illumination tab, I turned all the top three options on which were reflective caustics and refractive caustics. I rendered out the scene:
It had made the scene a lot brighter and the colours appear more vibrant. The scene if anything was a little bit too bright but in most of the scenes the camera is close up to a character and the lighting looks perfect. It also means there are no dark areas to shy away from from so no one will need to worry about hiding unwanted shadows.
No comments:
Post a Comment