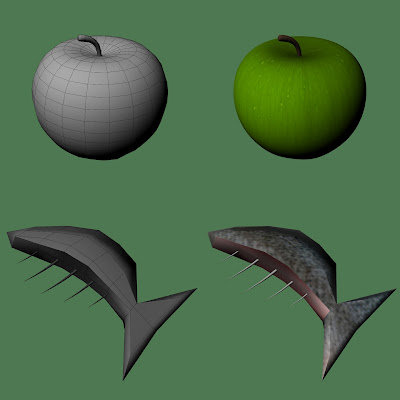
I found a way to use mental ray so it would render out the wireframe of my models by looking at a couple of forums and also looking at a book called "Mastering Autodesk Maya" by Eric Teller which tells you about rendering settings. From these sources, I pieced together a good method of allowing the wireframe to be rendered.
The first step was to create a new material and then go to the shading groups and find that material. Then select it and go to the attribute editor. Under the shading group material there is a mental ray section. It then allows you to select contour shading on. I adjusted the settings so that the colour of the contours were black and that were not completely visible (the alpha channel to 0.750) then the thickness to just 0.5. In the attributes of the material, I made the colour a slightly lighter grey.
In the render settings, when mental ray is chosen as the renderer, there is a features tab. In there is contour rendering options. I made sure it is ticked on there and then under "Draw by property difference" I ticked on "around all poly faces".
When the new material is applied to the objects it renders out like in the image below. The left images are when the contour rendering has been applied and the right images are the models with the original materials applied.
I have used contour rendering with all my models and for most of them, have used with a turntable animation so the wireframe can be seen at all angles.

No comments:
Post a Comment